Use the Models page to create and manage the Forecast models in your Reserves instance.
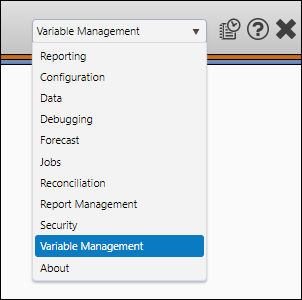
How to Access the Models Page
- Select Variable Management from the Navigation Toolbar.
- Click on the Variables tab, and then the Models page.
Create a Model
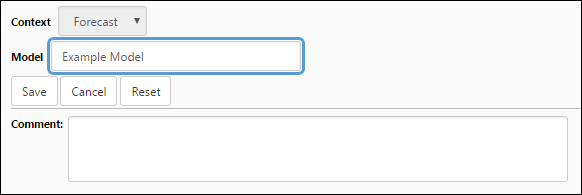
To create a model, follow these steps:
- Click the Create button.
- Enter a name for your model in the Model field.
- (Optional) Enter comments associated with your model in the Comment field.
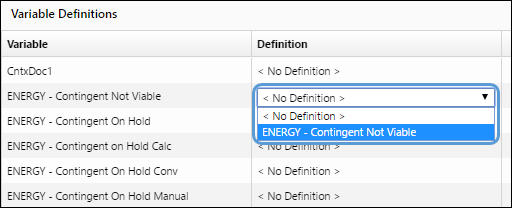
- Use the Variable Definitions table to associate definitions with your variables:
- Use the drop-down menus in the Definition column of the table to select the definition you wish to link to each one of the variables in your model.
- When you have finished linking your variables with the appropriate definitions, click the Save button to save your new model.
- Once your model has been saved, verify it works using the Test Compile button. If there are errors with your model, you will be notified.
Click image to expand or minimize.
Edit a Model
You will not be able to modify locked models. If the model you need to modify is locked, click the Unlock button to unlock it.
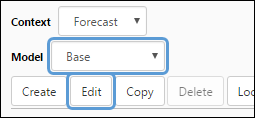
To modify a preexisting model, follow these steps:
- Select the model you wish to modify from the Model drop-down menu.
- Click the Edit button.
- You will be able to:
- Modify the model's name.
- Modify the comments associated with the model.
- Modify your Variable Definitions.
- You can use the Reset button to undo any changes you make. Clicking this button will revert all of the models options to the most recent saved configuration.
- When you have finished making changes to your model, click the Save button.
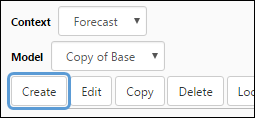
Copy a Model
Instead of recreating a model from scratch, you can create a copy of an existing one and then modify it.
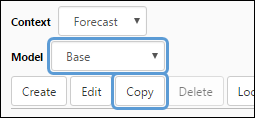
- Select the model you want to make a copy of using the Model drop-down menu.
- Click the Copy button.
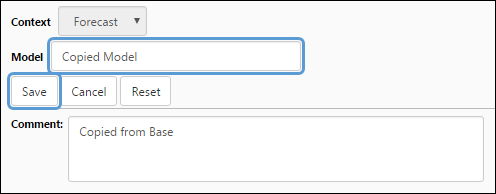
- Enter a name for your copy in the Model field.
- (Optional) Enter comments associated with your model in the Comment field.
- Use the Variable Definitions table to make any modifications to the variable/definition combinations included in the model.
- Click the Save button when you have finished setting up your model.
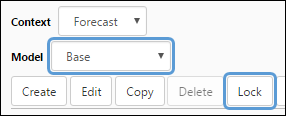
Locking Models
You can lock your models to prevent them from being edited. To do so, follow these steps:
- Select the model you want to lock from the Model drop-down menu.
- Click the Lock button.
- Once a model has been locked, click the Unlock button to unlock it.

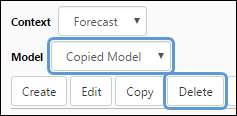
Delete a Model
Insofar as your model is not locked or linked to any versions, you will be able to delete it.
- Select the model you wish to delete using the Model drop-down menu.
- Click the Delete button.
- You will be prompted to confirm the deletion. Click the OK button to delete your model.